


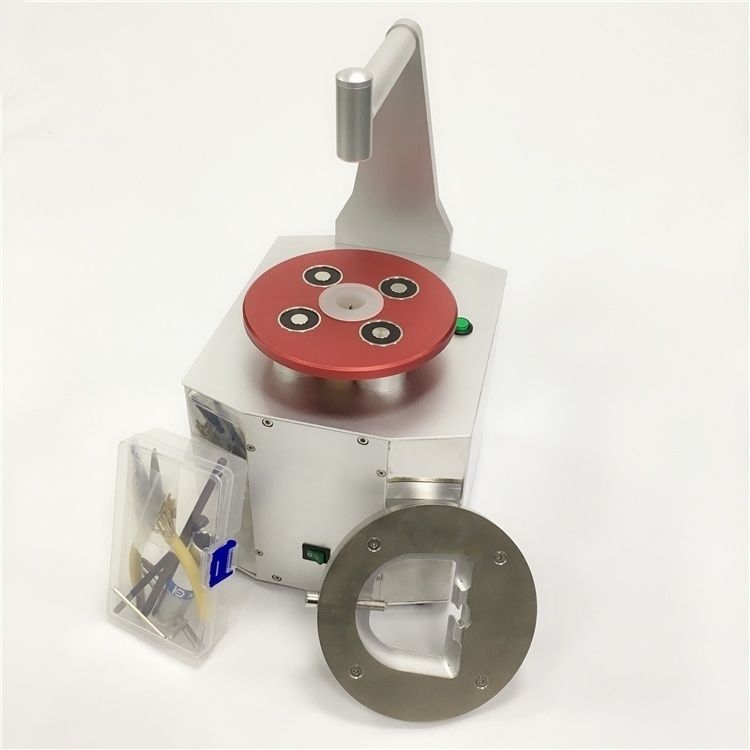
Precision and efficiency are essential in dental labs, especially when fabricating restorations such as crowns, bridges, and implant-supported prosthetics. The Pindex dental unit is a crucial tool that helps dental technicians create highly accurate sectioned models using laser-guided pin drilling. In this tutorial, we’ll walk through the step-by-step process of using the Pindex dental unit for model fabrication.
https://www.dentsma.com/product/pindex-system-machine/
Step 1: Model Preparation
Before using the Pindex unit, ensure the dental cast model is properly trimmed and smooth. A clean model ensures accurate pin positioning and prevents unnecessary damage during drilling.
- Start by trimming the plaster base to create a flat and stable surface.
- Ensure no excess gypsum or air bubbles are present.
- Mark key reference points to guide pin placement.
Step 2: Positioning & Laser-Guided Drilling
The Pindex dental unit features laser positioning technology, allowing precise hole placement for dowel pins.
- Place the model on the Pindex unit’s drilling platform. Ensure it is secure.
- Activate the laser guide, which projects a precise drilling point onto the model.
- Using the one-touch automatic drill, create clean, perpendicular holes where dowel pins will be inserted.
- Repeat this process for each section of the model.
Step 3: Inserting Dowel Pins
Dowel pins help align and secure individual model sections, allowing technicians to work on specific areas without misalignment.
- Apply a small amount of adhesive to each pin base for better fixation.
- Insert each pin into the drilled holes, ensuring a snug fit.
- Double-check pin alignment to avoid errors when repositioning model sections.
Step 4: Model Sectioning & Base Mounting
Once the dowel pins are secured, the model must be carefully sectioned and mounted.
- Use a diamond saw or scalpel to separate the model into individual sections.
- Ensure each section aligns perfectly with the base for a seamless fit.
- Attach the sections onto a mounting base, allowing easy access for dental restoration work.
Step 5: Final Adjustments & Verification
Before proceeding with restorations, verify the accuracy of the sectioned model.
- Check for proper fit and stability of each section.
- Ensure pins allow smooth repositioning without misalignment.
- Once confirmed, the model is ready for wax-ups, framework design, and prosthetic fabrication.
Conclusion
Using a Pindex dental unit helps technicians achieve high-precision dental models, improving fabrication accuracy while saving time. With laser positioning and one-touch drilling, the Pindex system streamlines the workflow in any dental lab.
💡 Looking for extensive dental dowel pins? Dental Laboratorio is a great place to find the right models for your dental fabrication tasks!
